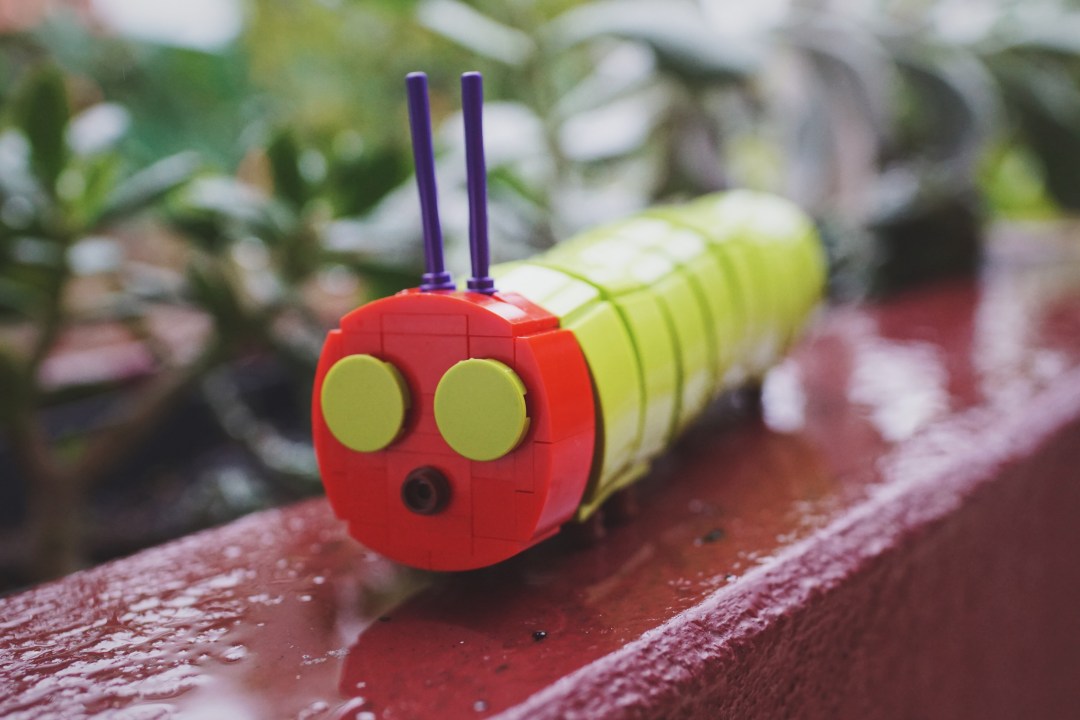
It’s 2019, marking the 50th anniversary of the children’s classic The Very Hungry Caterpillar by Eric Carle! So, to celebrate, I’ve put together a LEGO version of our hungry friend.
Heading into this, I wanted it to be:
- Articulated to get those curves and add some playability
- Easy to find parts from my local Bricklink store
- Clean with no/minimal studs showing from all angles (maybe could have tiled the feet)
It’s a fairly straight-forward build made up of a few different types of segments. Once you’ve learned how to do the main body, it’s pretty easy to work out the rest.
Breaking down the LEGO caterpillar
Here we go! The Caterpillar image below is probably as short as I could go but it’d be simple enough to go larger.
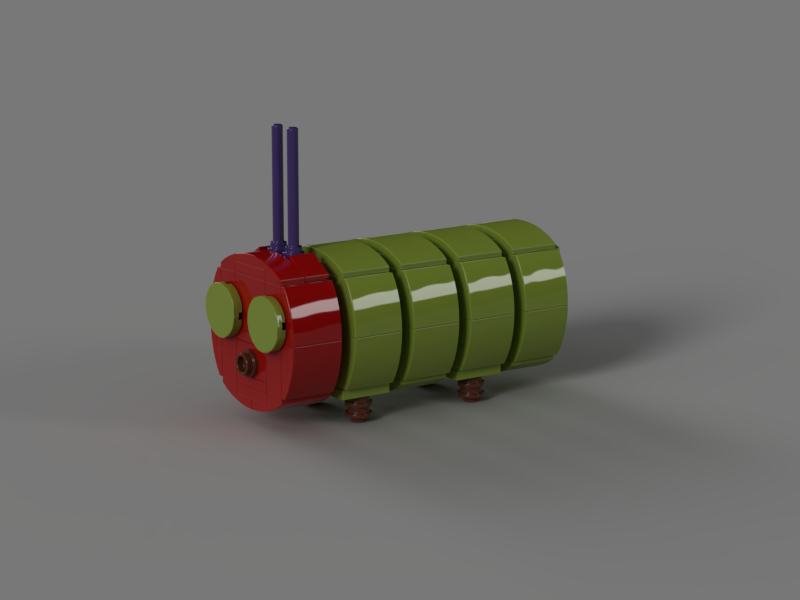
You can break the caterpillar down into a bunch of modules, allowing you to make it as long as you’d like. All you need is:
- Body modules
- Head
- Body segment
- Body segment with legs
- Tail end
- Spine modules
- Thin spine segment
- Thick spine segment
Here’s an ‘inside’ look if you were to remove the body segments from the spine. You can see the ‘thin’ and ‘thick’ spine segments and the body segment with and without legs.
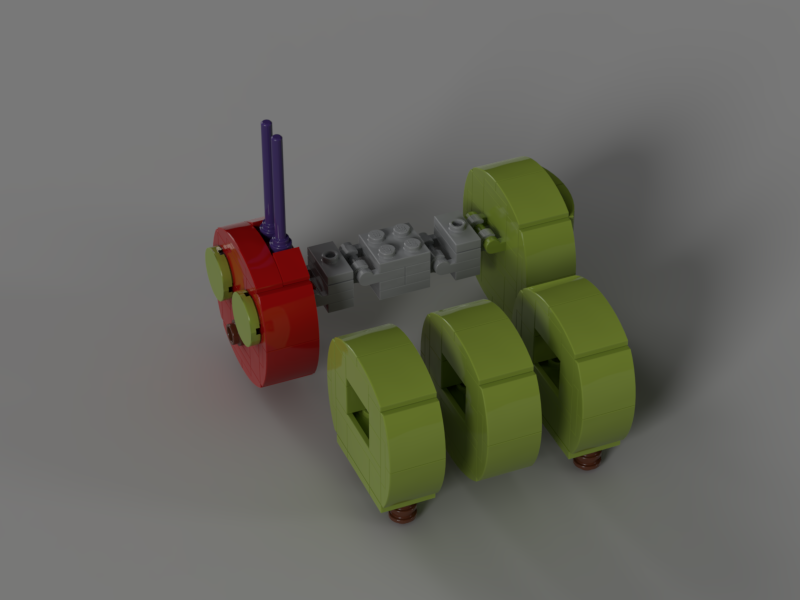
This configuration of the spine gives just enough articulation without the caterpillar looking disjointed.
Building the body
The body segment is the basic segment. You can see the parts and assembly below. Take note that the ‘bottom’ part of the segment is inverted with studs facing down.

To make a Body segment with legs, simply replace the bottom curved slopes and 2×2 plate with a:
- 2×2 tile in the middle
- 2x 1×2 jumper plates
- The legs are 2x 1×1 round plates on top of each other. You can see this in the pic at the top.
Building the spine
Ok, you’ll notice there’s a hole in the middle of the body segments. That’s where the spine segments fit in (yes, you’ll probably need to disassemble parts of the body segment to fit this in. I just wanted to show you how it works)

In the picture above, I’m showing you the two types of spine segments connected together. There is a:
- Thin segment with the 1×2 jumper plate
- Thick segment with 2×2 plate
The stud on top of the thin spine segment will allow it to sit in the middle of the body segment.
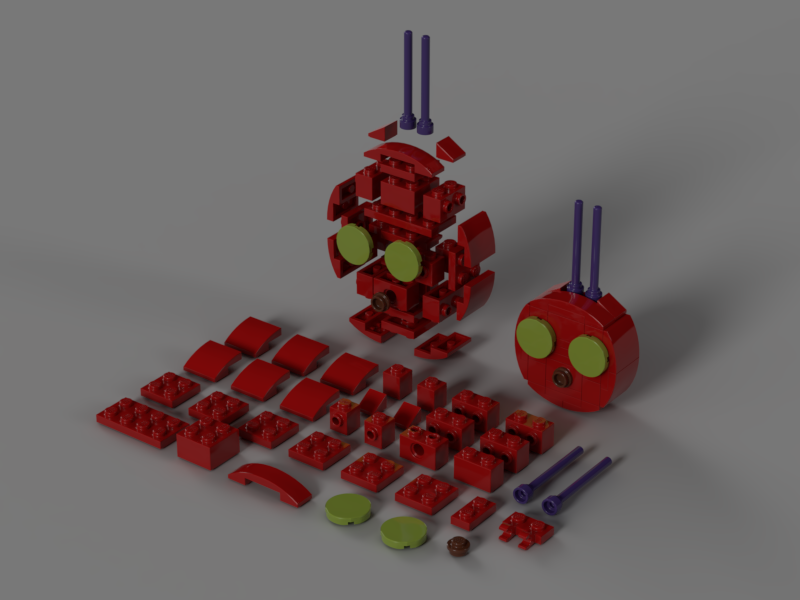
Head and tail
Ok, finally, the head and tail are a variation on the body segment. In both, we’re adding bricks with studs on the side to allow us to build on the flat areas.
For the head, we’re adding eyes. For the tail, we’re rounding it off with some more curved slopes.

If you’re looking for step-by-step instructions… sorry. I haven’t had time to put them together. I hope the images are enough for you to work off. But if you have any questions, hit me up on Instagram or Reddit I’ll see if I can point you in the right direction.
Also, kudos to others who have worked on LEGO versions of The Very Hungry Caterpillar! Check out Bruce Lowell’s variation using “Lowell Spheres” and Eiffleman’s version of the book on LEGO Ideas. Finally, always a big thanks to the crew at the Southern Bricks LEGO User Group who I bounce my ideas off.
Enjoy!
