
LEGO Brickheadz models are great for collectors – but they’re not so good for photography. Here’s how you can give them a bit more life with some modifications.
I’ll be honest – I’ve never been a huge fan of the Brickheadz line of models. But I can see the appeal for people who are into them. They have a that Funko Pop sort of thing going for them and some great printed parts but for me, they’re just a little… rigid.
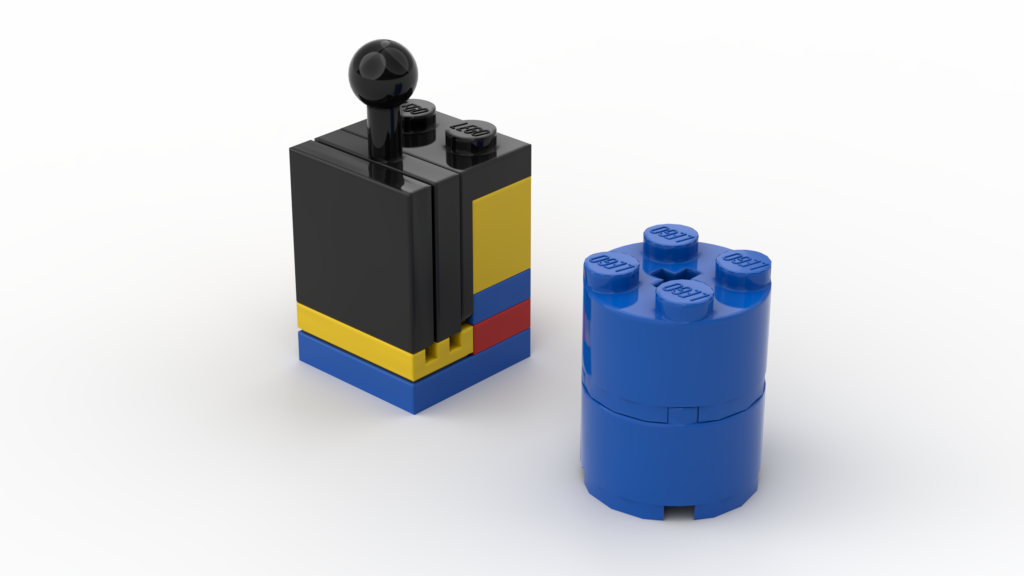
From a photography perspective, they’re limited.

But the great thing about LEGO models is that if you don’t like something, you can change it!
So, I put on my thinking cap and played around with a bunch of different prototypes to see if I could add some movement.
This was the result:

We’ve finished up with:
- New articulated legs, arms and hands
- New waist that swivels
- New neck that allows for head movement
- A bunch of left over parts from the operation
The great thing is, this should work for most Brickheadz (or would only need a small amount of engineering). If you have a favourite model, you can do this too!
But first, here’s a quick commentary about each section (you can skip to the good stuff at the end of the article with a link to see the 3D model on BrickLink’s Studio with some rough instructions).
The torso
Easier part of the modification once I had the neck assembly sorted out. There are a few jobs to do here:
-
- Replace the “core” with a new neck assembly
- Replace the attachments for the arms
- Replace the top layer of plates with tiles for a clean look
The neck assembly fits like a glove and is a testament to LEGO’s System.
Here’s a look at the arm attachment replacement and the new limbs:

The arms and legs
The main challenge here was keeping the joints compact but still adding articulation. I tried a bunch of options but felt this worked best.
I used the same t-bar/clip combo I’ve used in the Mighty Micro Mechs to keep things simple.
I also added a turntable to give some hip movement too.
The head
This is probably the trickiest part and there are quite a few ways to do it.
The challenges are:
-
- Adding the connection for the neck
- Keeping the layout of the studs
Now, because each of the Brickheadz set has different features, you may need to adjust the design a bit. Here are a couple of options I came up with.

If you find a different solution, please let me know! I’d suggest approaching it as two sections – the bottom half and the top half.
Give your Brickheadz model the Brick Pixels upgrade!
If you want to make your Brickheadz model more photogenic, I’ve uploaded a model over at my BrickLink Studio gallery.
There you’ll find a 3D render and also some rough guidelines on how this all came together. Because the Brickheadz modes follow a basic “skeleton”, it should work for most of them. Feel free to download and use this to upgrade your own Brickheadz sets!

If you do create your own, I’d love to see it! Tag me on Instagram or share it to the Brick Pixels Facebook page!

These would also be great for stop motion animation!
LikeLike