
The challenge with still life photography is that it’s… well, still. So how do you add a bit of action to your photos to make them feel a little more alive?
The answer: practical effects.
Sure, there are apps and photoshop effects but it’s never quite the same as capturing the action in the shot. Practical effects is all about using real elements to create ‘action’. In reality, it means throwing dirt, spraying water or even sprinkling glitter on your LEGO minfigs. For effect.

The practical effects check-list
What you’re going to need:
- A camera that you can manually set the shutter speed (e.g. ‘S’ or ‘M’ mode on your camera)
- Plenty of light (sunny days are good for outdoor shoots. Flashes/lights can also work)
- Remote shutter cable (or timer with sound)
- Stuff for your effects (e.g. dirt, stones, sparklers etc)
Ok, so let’s break this down a little.
First, you need to be able to control your shutter speed. This is crucial. The idea is that you want it to be as fast as possible. This will ‘freeze’ all the debris in the shot. If your shutter is too slow, you’ll see the motion blur.
Now, the reason why you need plenty of light is that the fast shutter speed is going to limit how much light you’ll capture. If you don’t have enough light, your photo’s going to come out dark or really grainy (that’s your camera trying to compensate). My camera’s fastest speed is 1/4000sec which works well for me.
Your hands are also going to be busy creating the effect, so it’s handy to have a remote shutter button or use a timer so that you can be closer to your subject and focus on the effect. My Sony A6000 has a timer with a burst shot – very handy.
Finally, you’ll want some sort of material for your effect. Sometimes your effect is going to be quite dynamic, other times you may want it to be a little more subtle.
Here’s a list of some of the things I’ve used.
- Dirt
- Sand
- Potting mix
- Flour
- Pebbles
- Leaves
- Grass
- Water in a spray bottle
- Compressed air
- Beach-side shower
- Glitter
Finally, it’s time to get your efftects happening. This is going to take practice.
It’s all in the timing! If you’re just starting out, it can be a little frustrating. So here are a few tips for beginniners:
- If your camera has burst mode (where it takes multiple shots quickly after each other), use it. This gives you a bit of grace with the timing.
- Test your timing first with a dry run. If you don’t get it first go, you’re going to be spending time cleaning off your minifigs for a second try. So, practice with a dry run just to make sure.
- Even a little can be a lot. Sometimes it’s easy to go for the big explosions but A small amount of dust can add atmosphere and detail to a shot.
- Keep trying. The more you do it, you’ll start getting familiar with your camera, your timing, how different material moves and even the impact a subtle breeze can have on the whole thing.
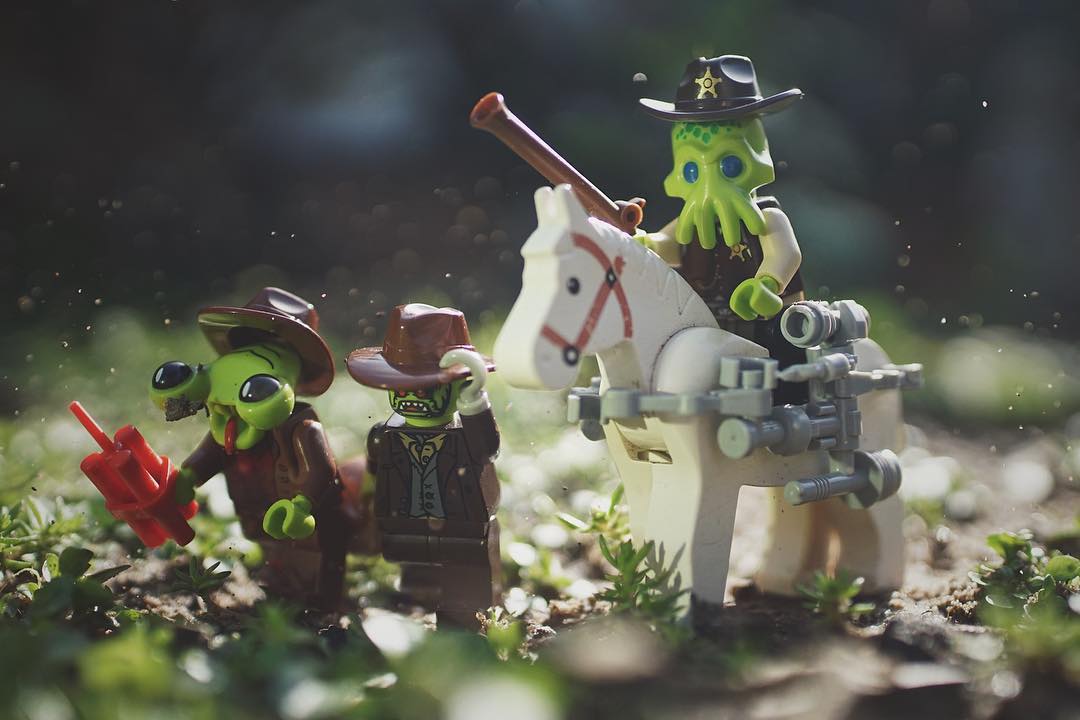
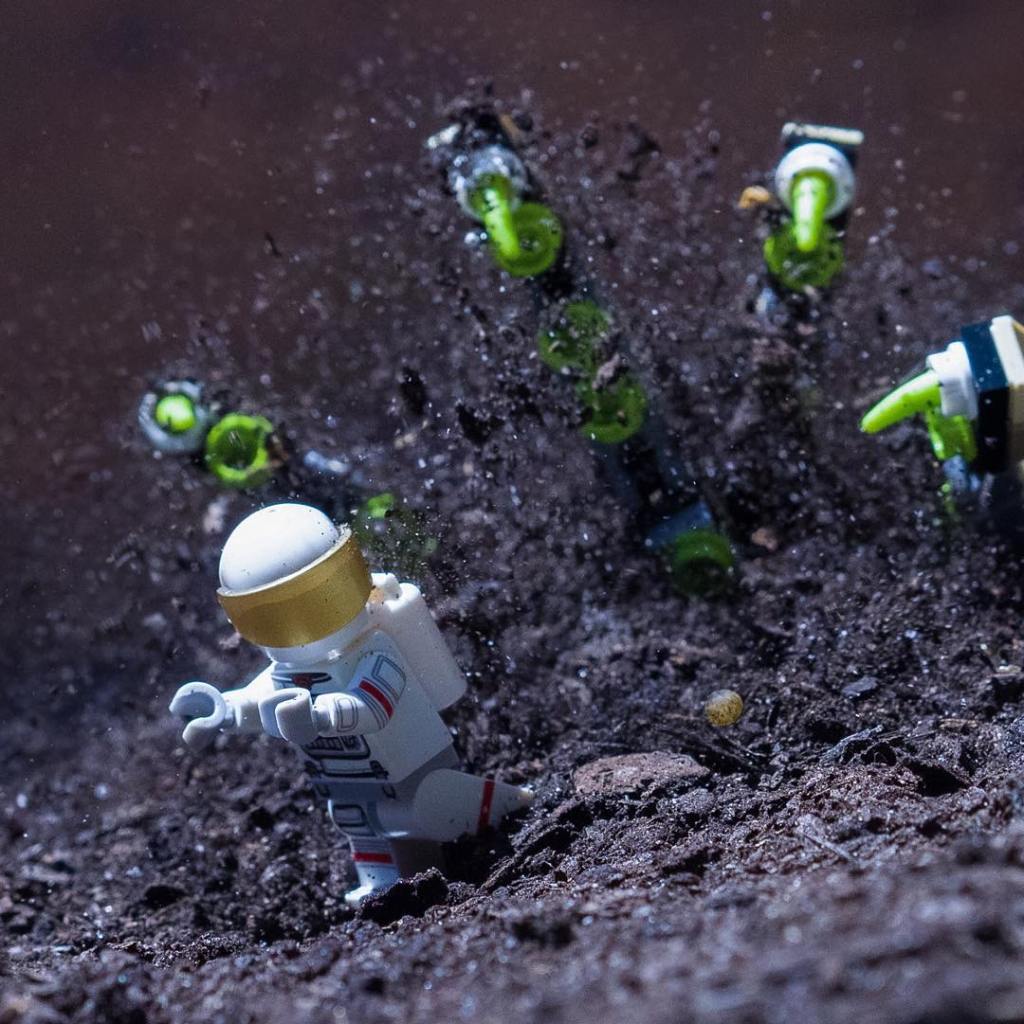
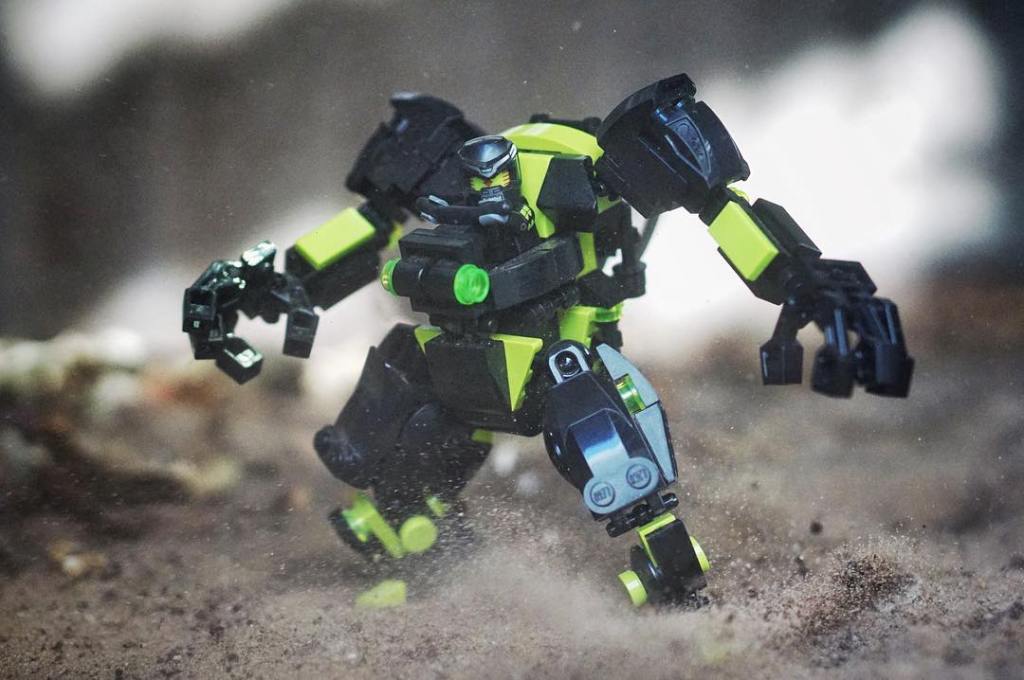
Examples of LEGO photos with practical effects
Below, I’ve put together a few examples of how I’ve used practical effects to create more dynamic LEGO photos.


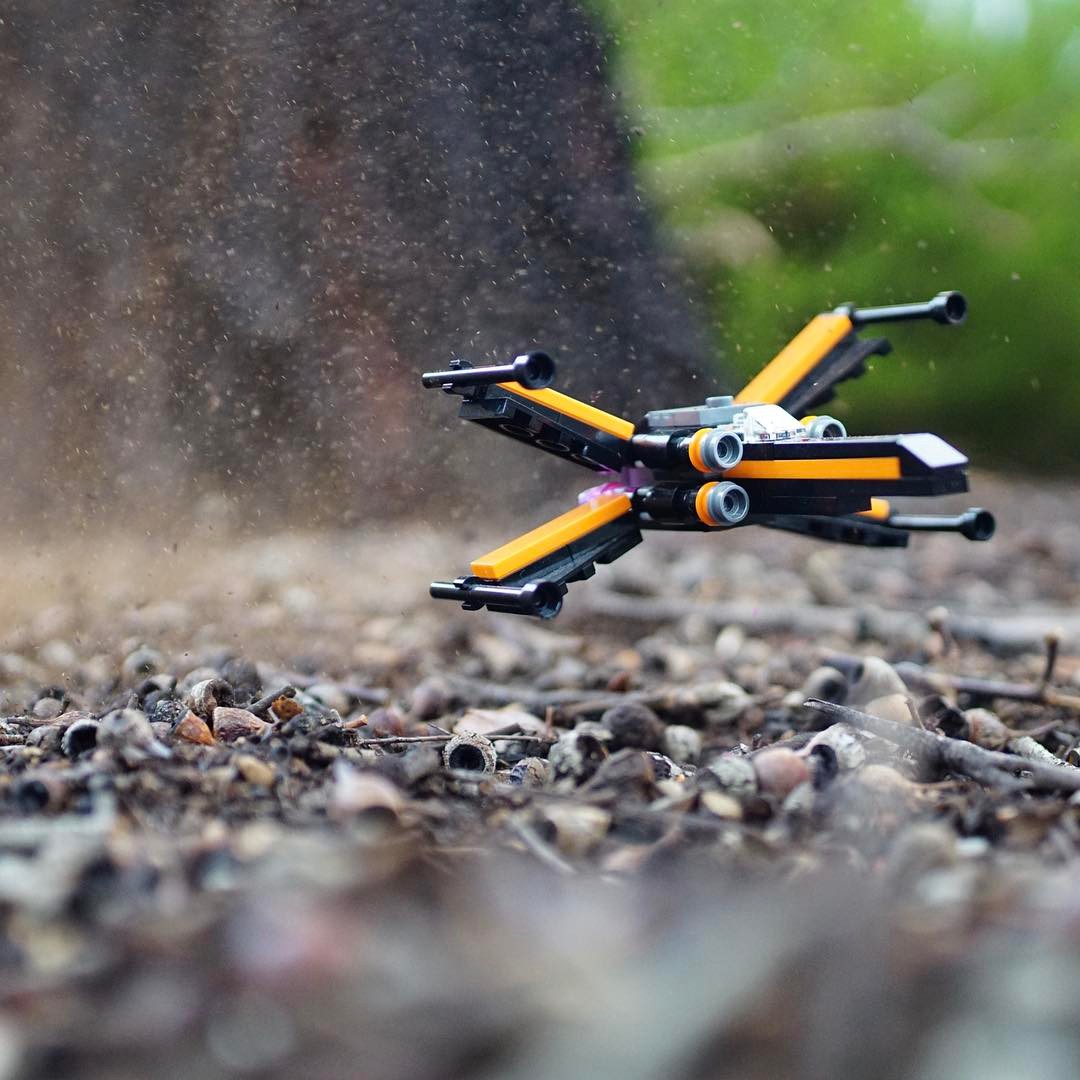
If you want to take it to the next level, try adding practical effects with a flying LEGO photo!
If you take some great shots with practical effects, I’d love to see them. Tag @brickpixels on Instagram or share your photos over on the Brick Pixels Facebook Page
